Introduction:
As I continue to grow my homelab, I’m realizing the importance of creating isolated environments for testing purposes. This requires the ability to run one operating system within another, which is feasible on a Ubuntu sesrver with Docker. However, it would be beneficial to utilize a dedicated virtualization platform (also known as a Hypervisor).
BENEFITS:
We’re seeking virtualization for several compelling reasons:
- Process Isolation: We prefer each component we work on to be self-contained and separate, just like with Docker. However, Docker still relies on the operating system’s kernel resources and may not provide complete isolation. With virtualization, we can choose any operating system we desire.
- Network Isolation: While Docker has network isolation capabilities, they are not as robust or capable as those of a virtualization platform. For sandboxing purposes, we want full isolation, with no communication with other components.
- Operating System Snapshots: Virtualization allows us to take snapshots of the entire operating system at specific points in time and roll back whenever necessary. This is ideal for tinkering and experimenting without worrying about data loss or corruption.
- High Availability: Docker is not designed for high availability, as it requires the machine to be running continuously. A virtualization platform, on the other hand, can provide high availability by allowing services to continue running even when the machine is turned off.
- Emulation: Virtualization allows us to run packages designed for one architecture (e.g., ARM) on a different platform (e.g., x86), which is not possible with Docker.
- Easy Backups: With virtualization, we have access to tools that enable easy and robust backups of the entire operating system, making it simpler to replicate and maintain our environments.
Installing
Get the ISO Here it is! Current version is Proxmox VE 8.2 ISO Installer as of the writing of this guide.
Burn to a USB You can use Rufus to make this easy. [Ventoy USB loader is another option]
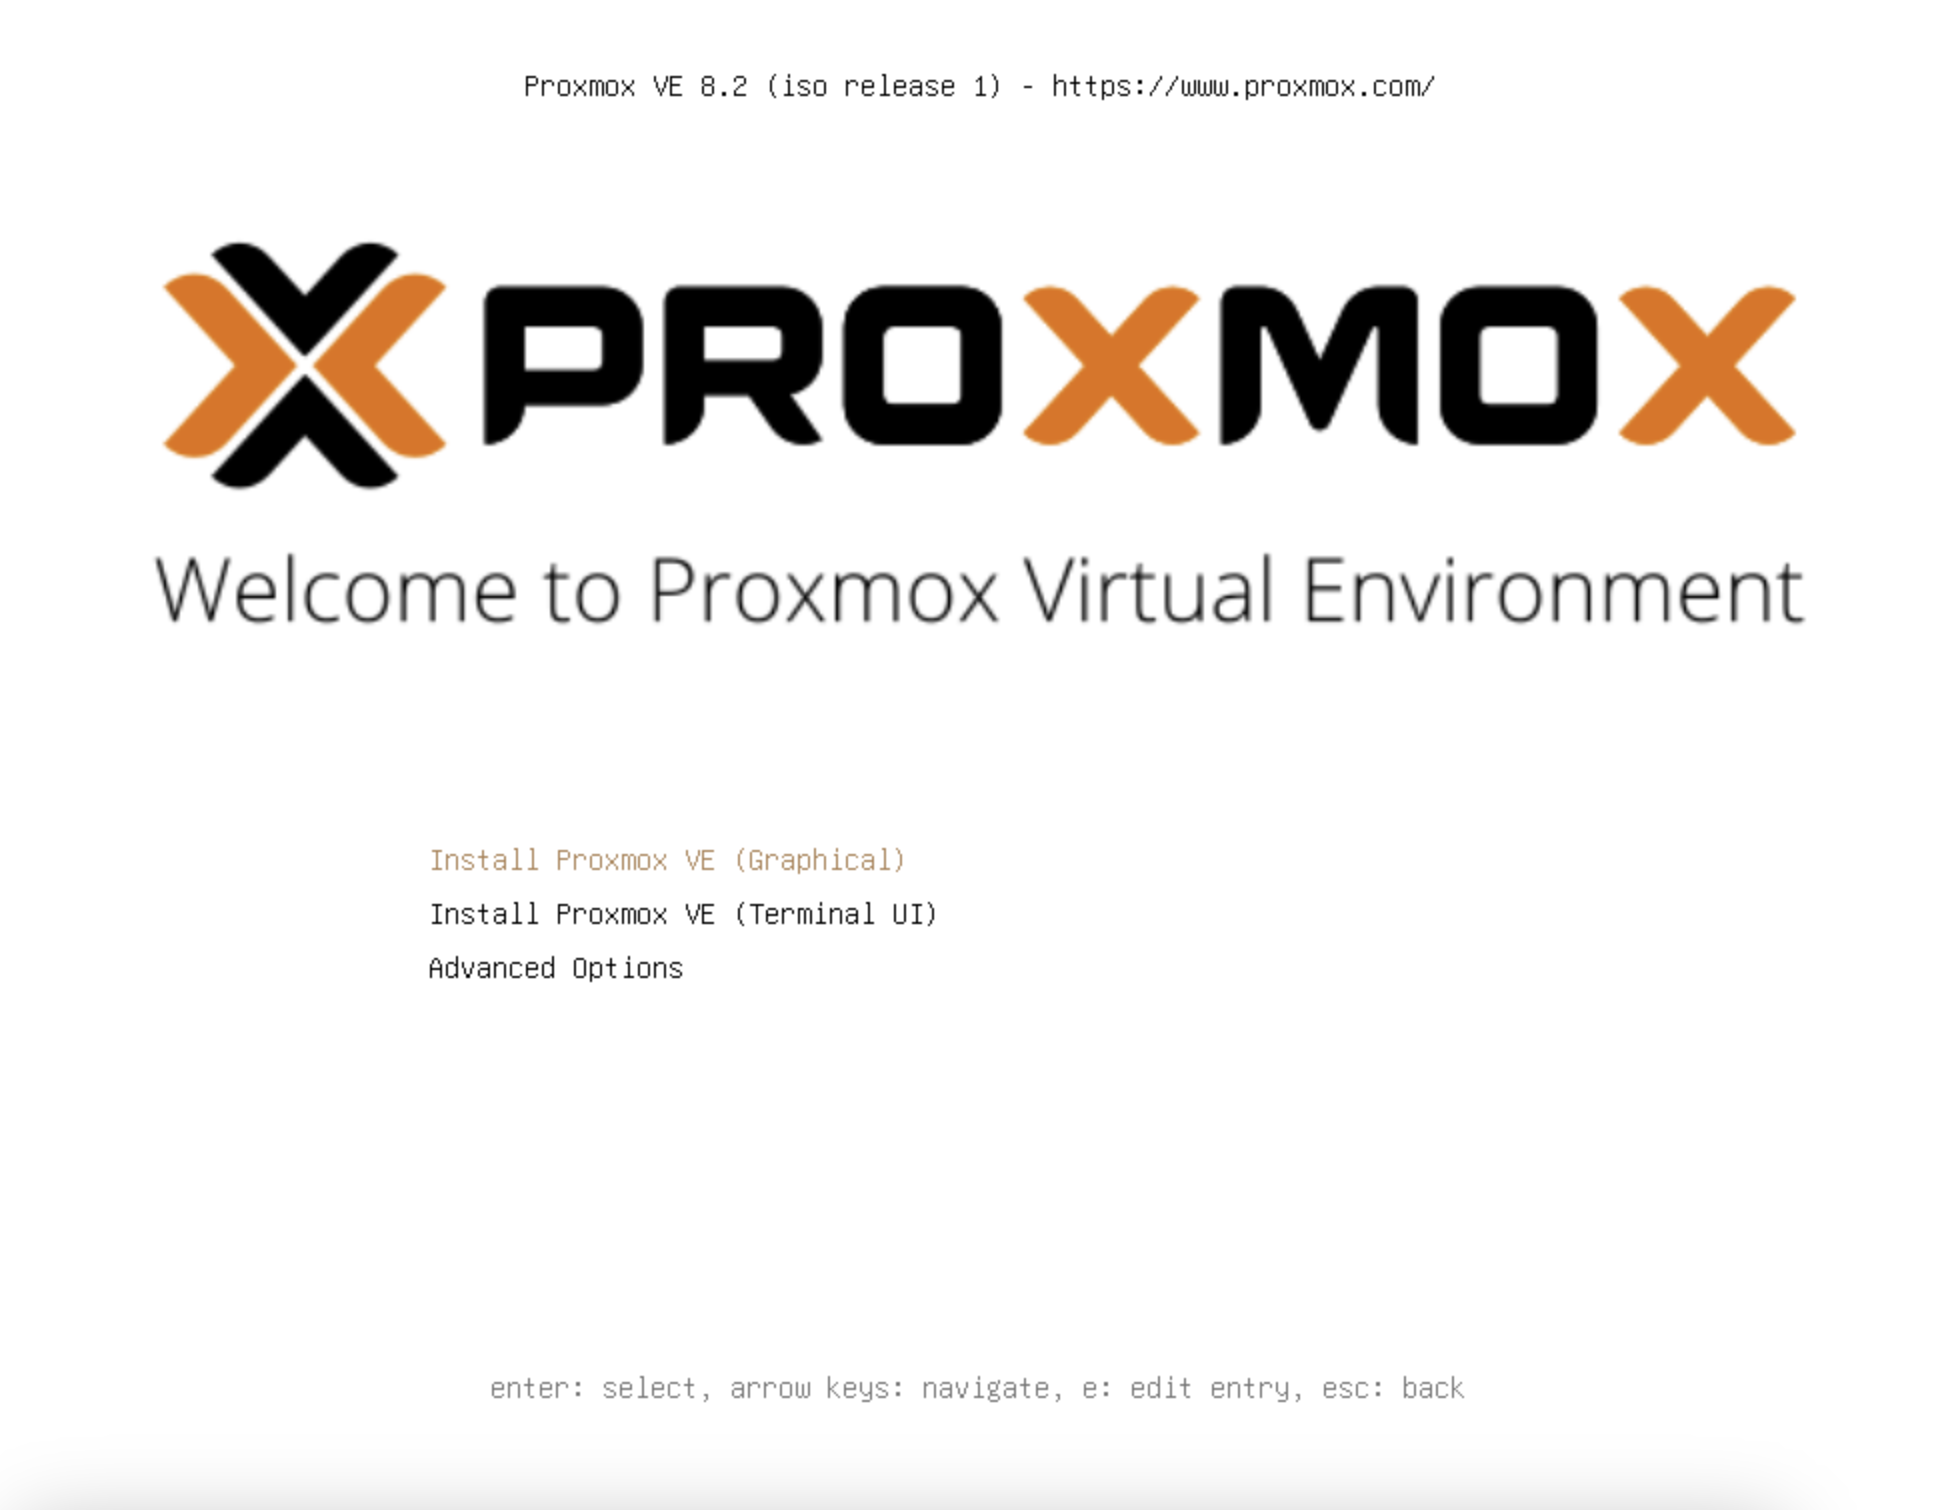
Install Proxmox
At the grub boot screen
Agree to the license, and choose the correct disk. Press OK.
Warning : The disk(s) you choose will be erased. It is possible to erase multiple drives if the wrong settings are chosen. I strongly recommend disconnecting any drives with important data and reconnecting them post install to be safe.

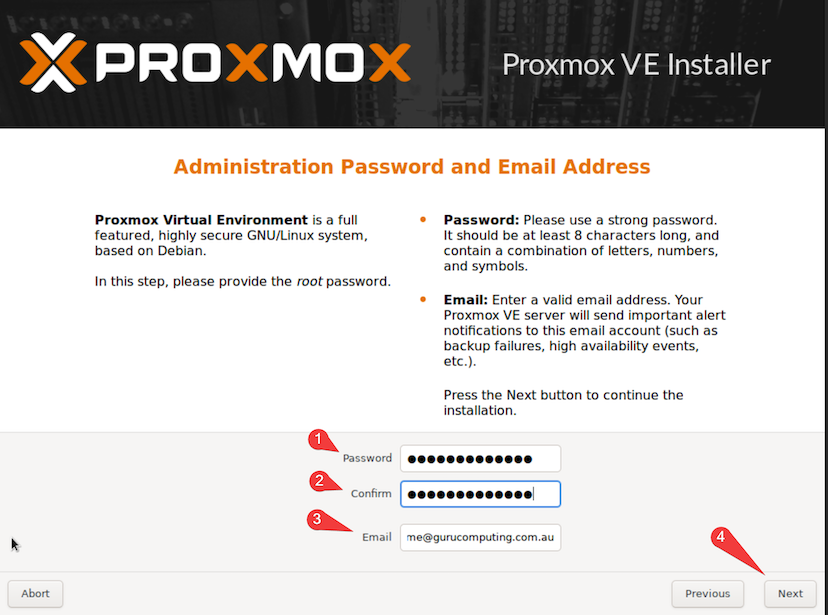
Set your timezone, choose an e-mail and create a password.
 Set a dns name (preferably a real one), and a static IP (yes it has to be static, at least by default).
Install! It should go pretty straight forward and reboot
Post reboot, you should be able to access your shiny new web management interface on https://our-ip:8006.